


Table of Contents
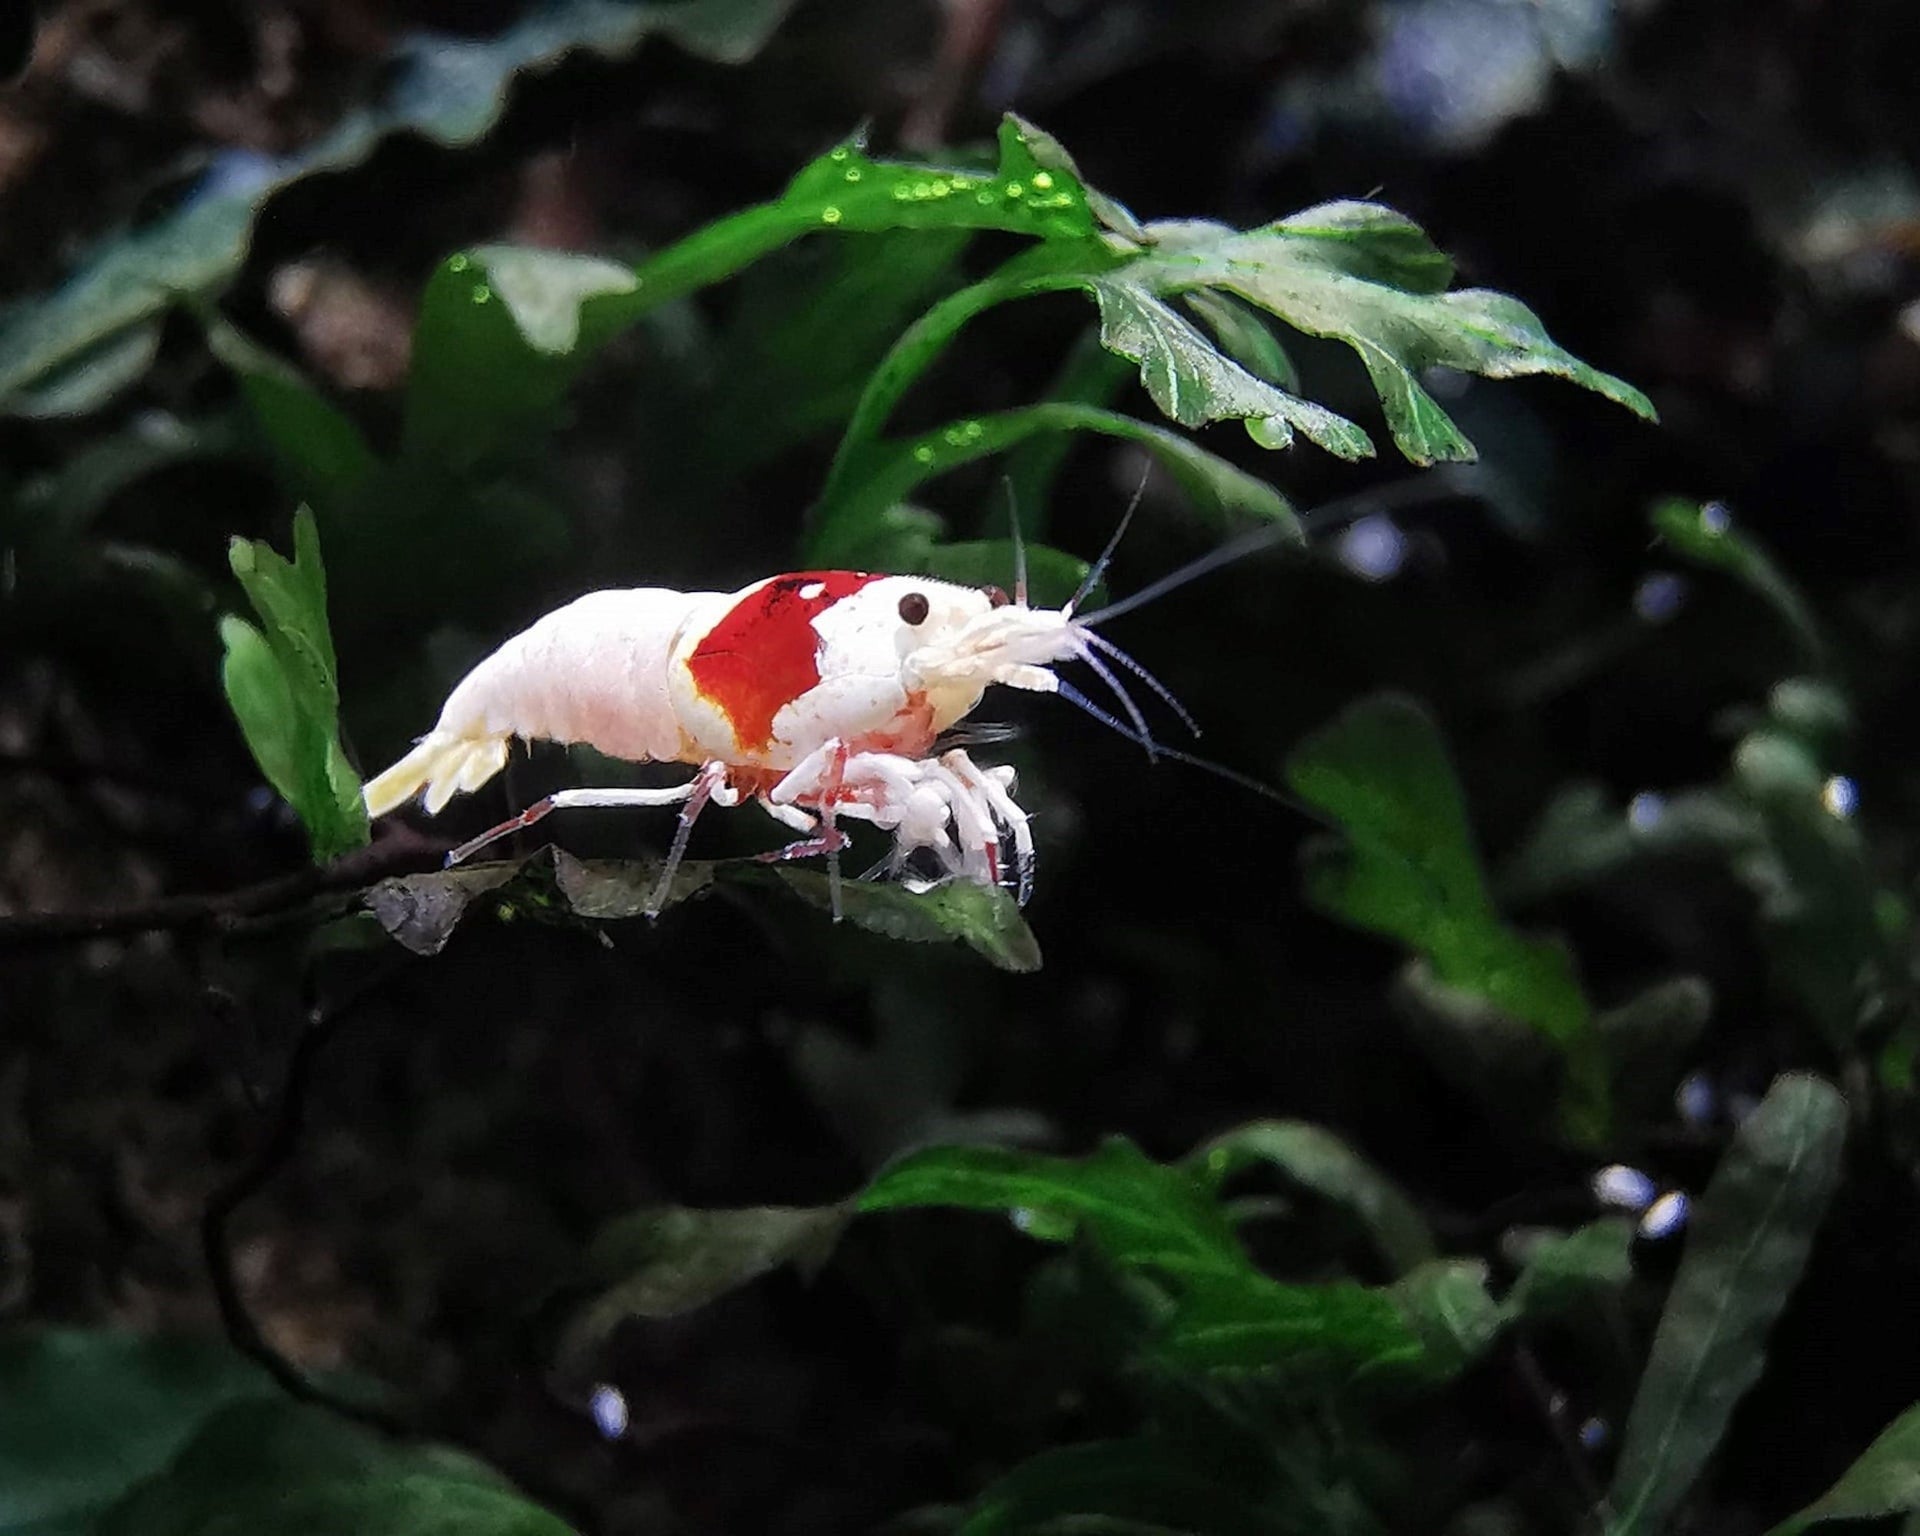
If you plan to set up a shrimp tank, consider keeping Caridina shrimp. These shrimp are known for their beautiful colours, unique patterns, and fascinating behaviour. However, setting up a perfect tank for this species requires careful planning, attention to detail, and patience. In this article, we will provide a step-by-step guide on how to set up the perfect Caridina shrimp tank.
Choosing the Right Aquarium
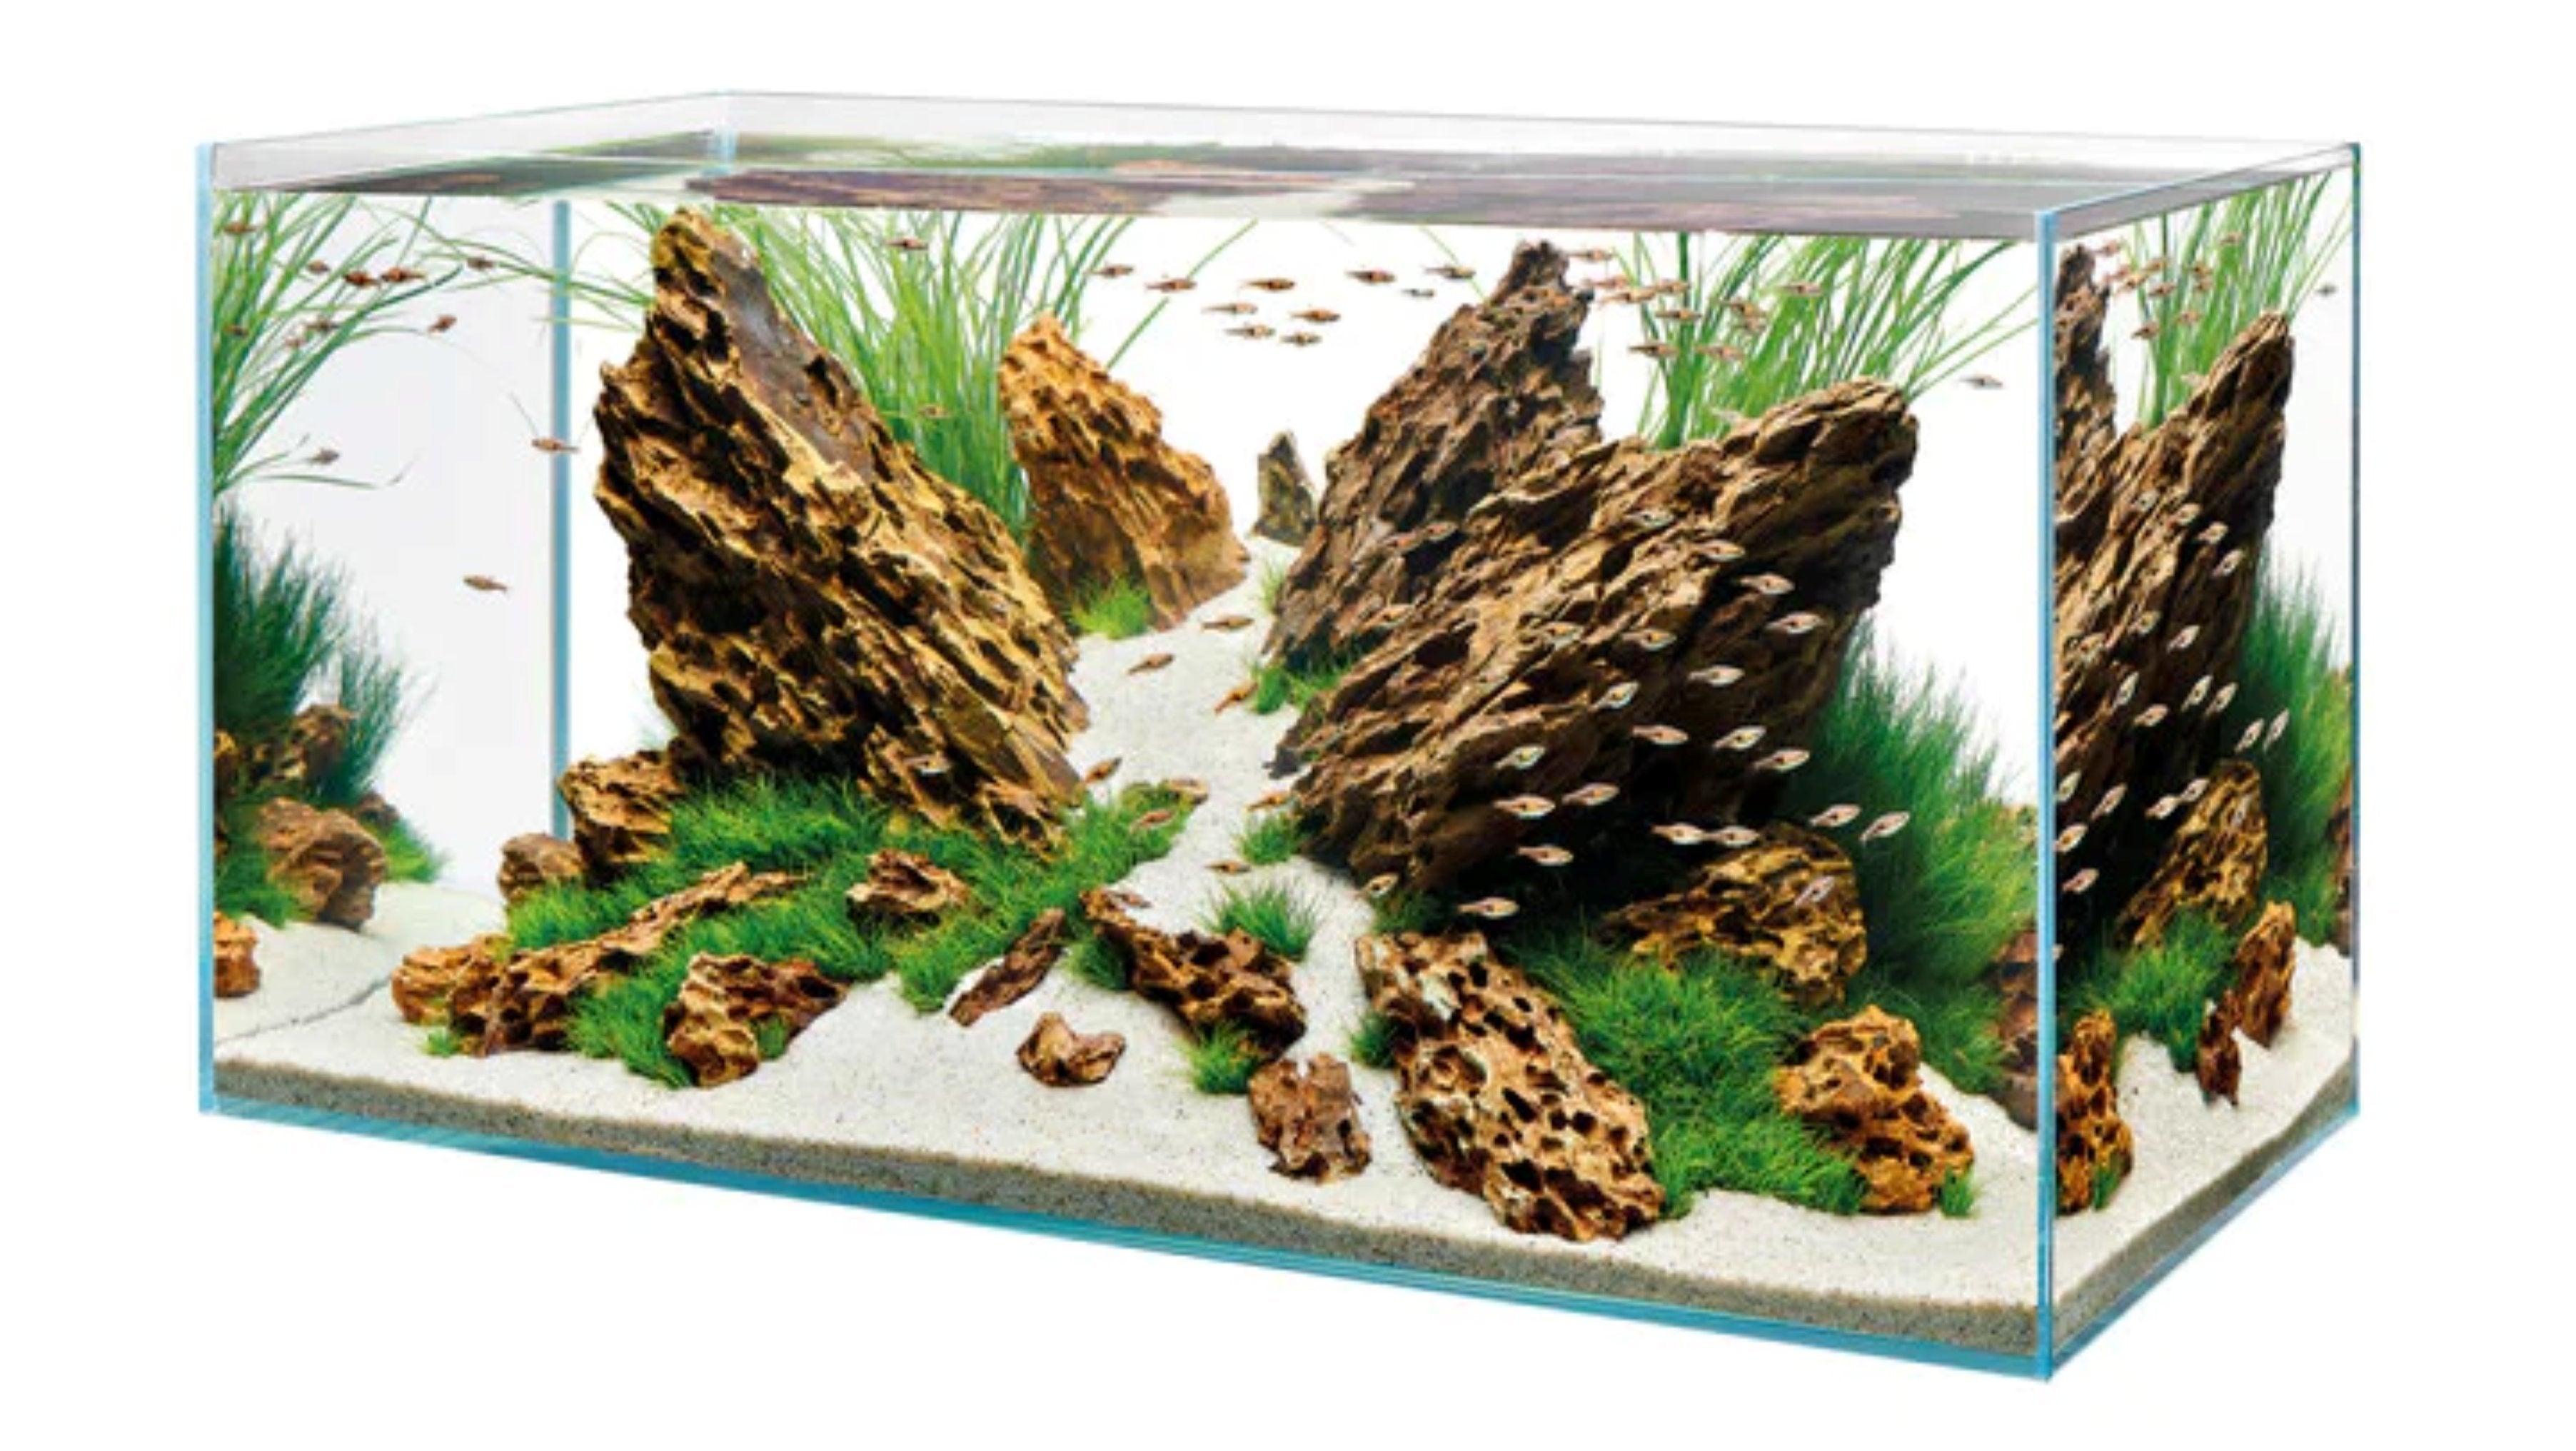
The first step in setting up a freshwater shrimp aquarium is to choose the right aquarium. The tank size will depend on the number of shrimp you plan to keep.
Generally, a 10-gallon tank is suitable for a small group of Caridina shrimp. However, you might need a bigger tank if you plan to keep a larger colony.
When choosing an aquarium, make sure it is made of glass, not plastic. Glass tanks are more durable, easier to clean, and less likely to scratch. Also, ensure the tank has a lid or cover to prevent the shrimp from jumping out.
Setting Up the Tank
Once you have chosen the right aquarium, it's time to set it up. Here are the steps to follow:
- Rinse the aquarium with water to remove any dust or debris.
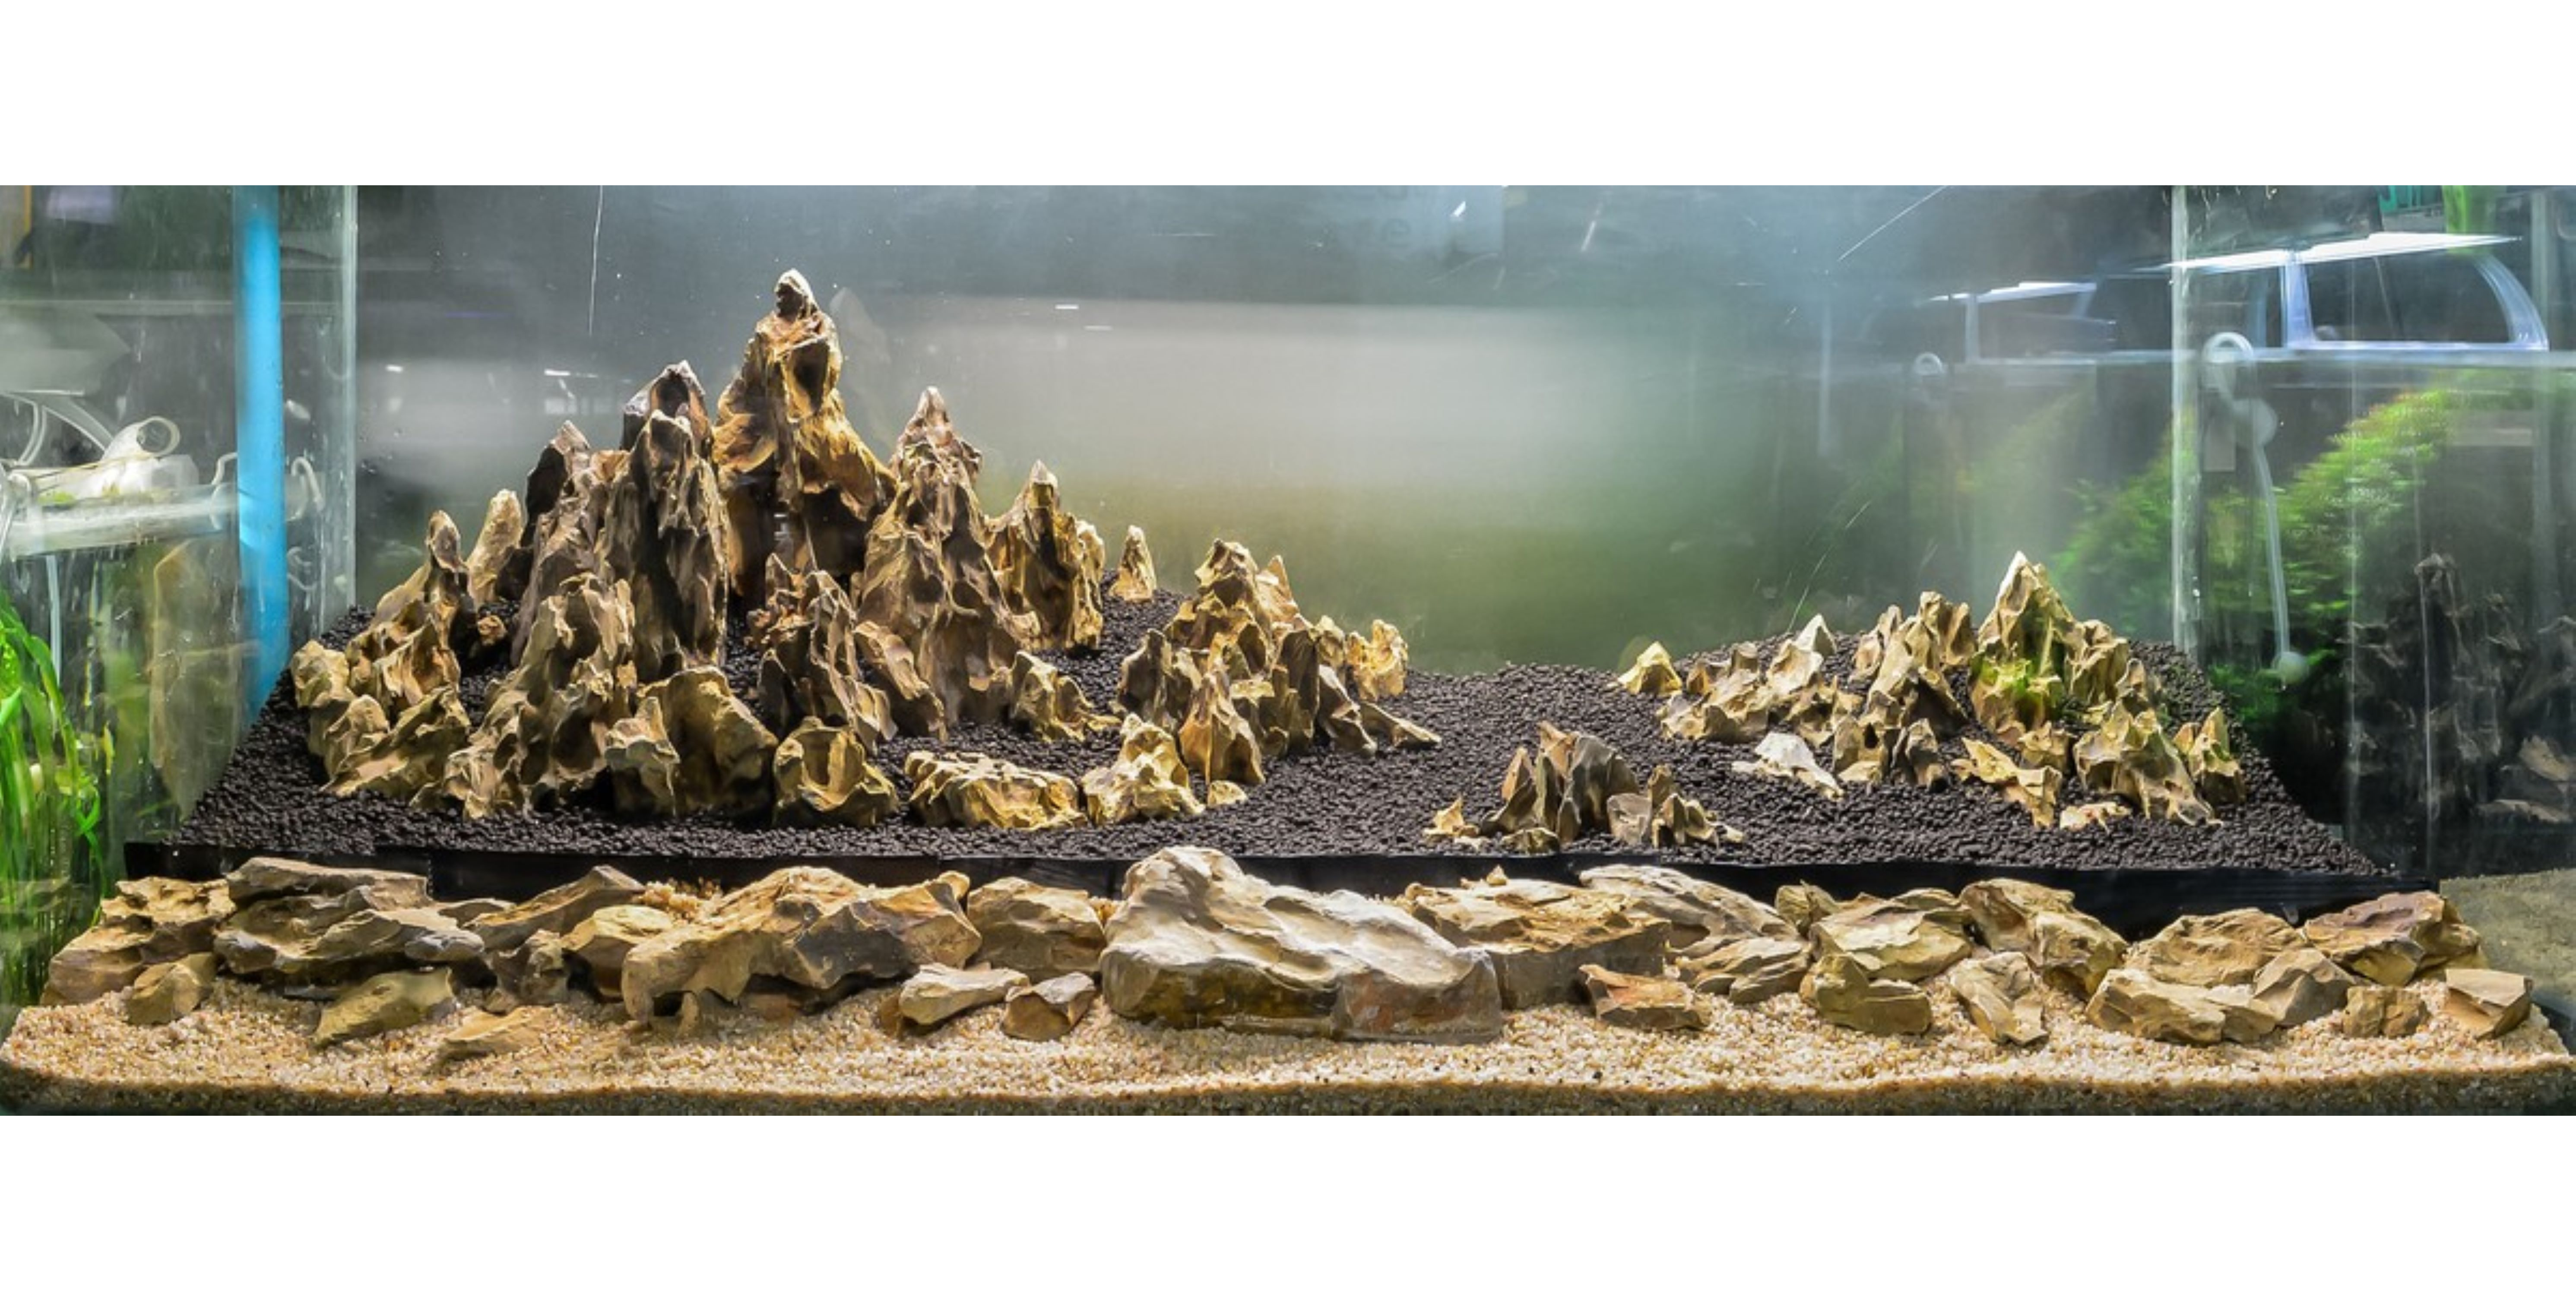
- Place a layer of substrate at the bottom of the tank. Caridina shrimp prefer a substrate that is soft and acidic. A good choice is aquasoil or fluval stratum. The substrate should be about 2-3 inches deep.
- Add a layer of powdered calcium-based substrate on top of the substrate. This will help buffer the pH and provide essential minerals for the shrimp.
- Fill the tank with water. Use reverse osmosis (RO) or distilled water, as the shrimp require soft water with a pH between 6.0 and 7.0.
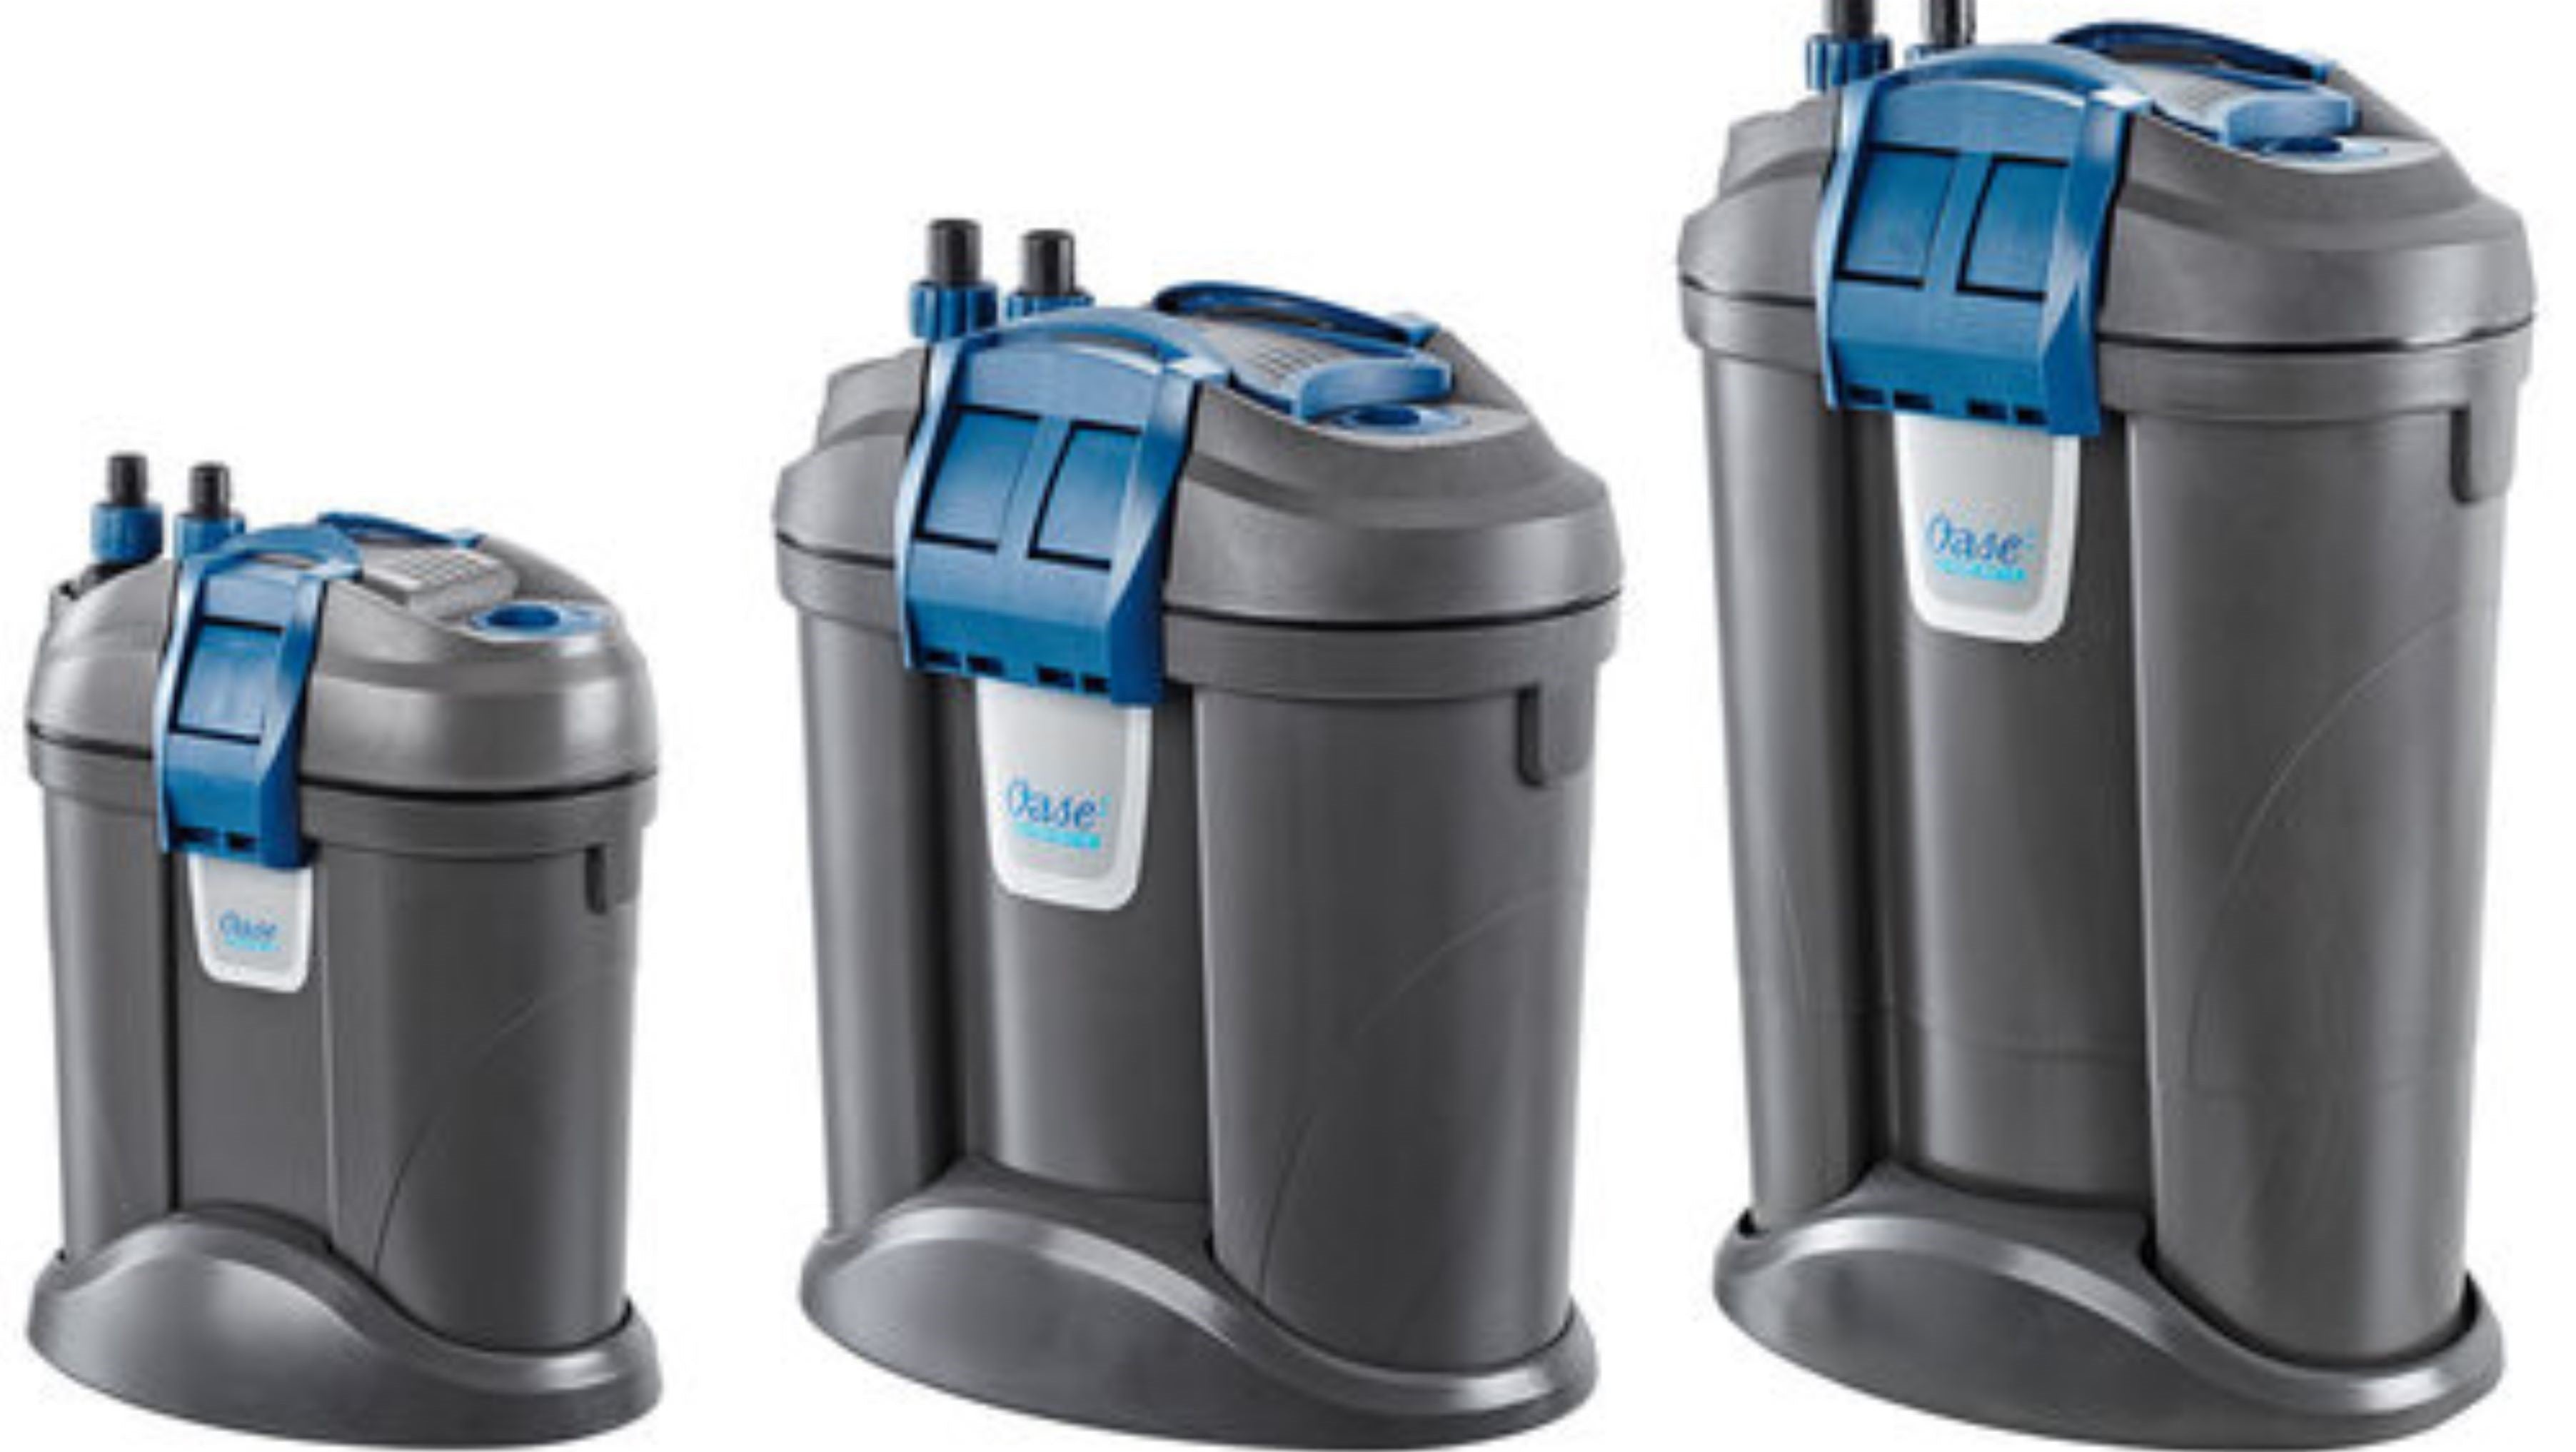
- Install a filter in the tank. A sponge filter is a good choice for a shrimp tank as it provides gentle water flow and does not harm the shrimp.
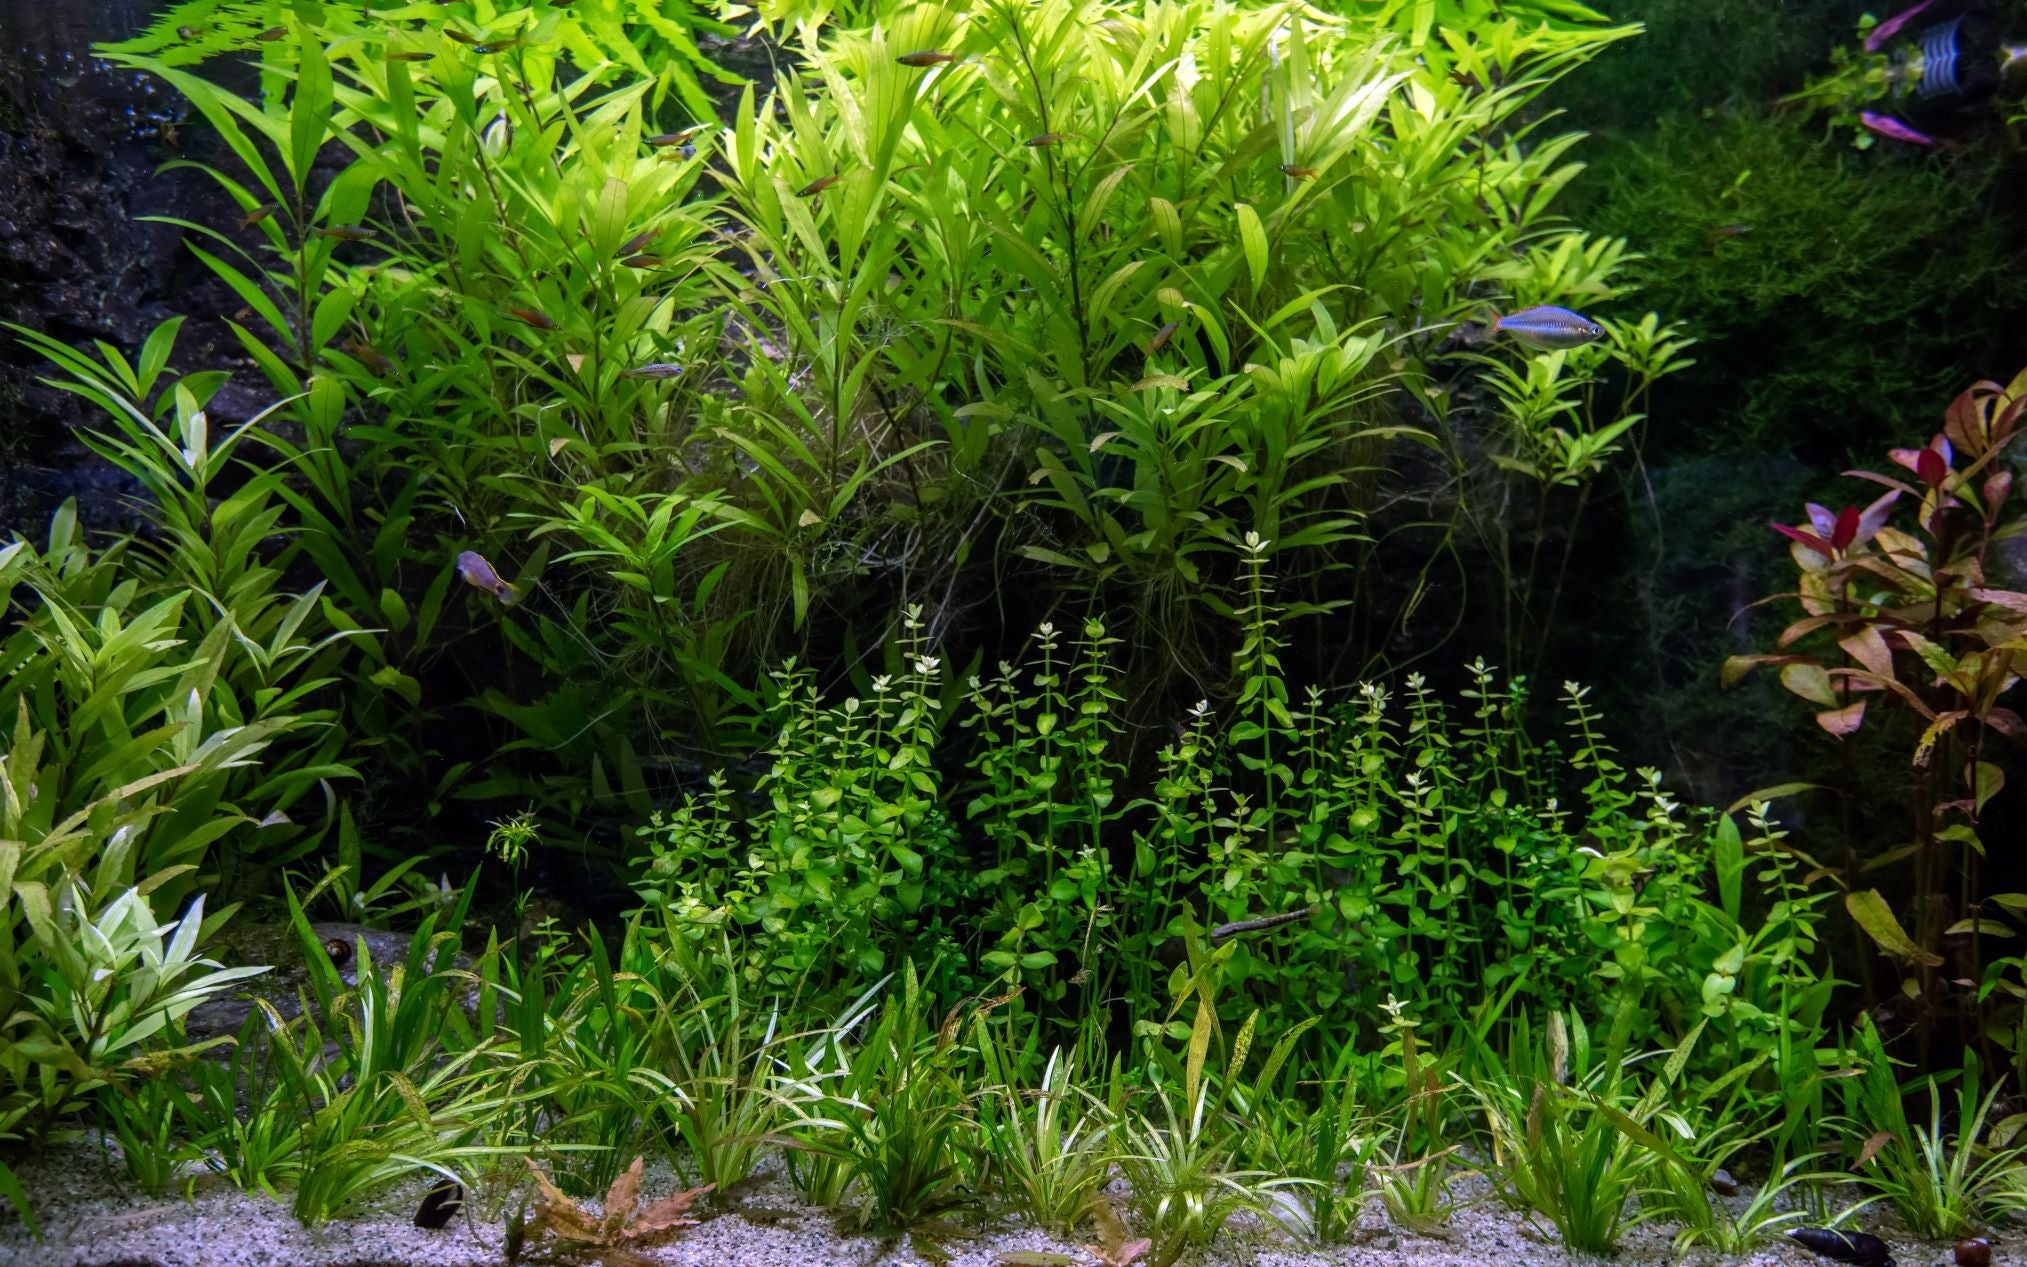
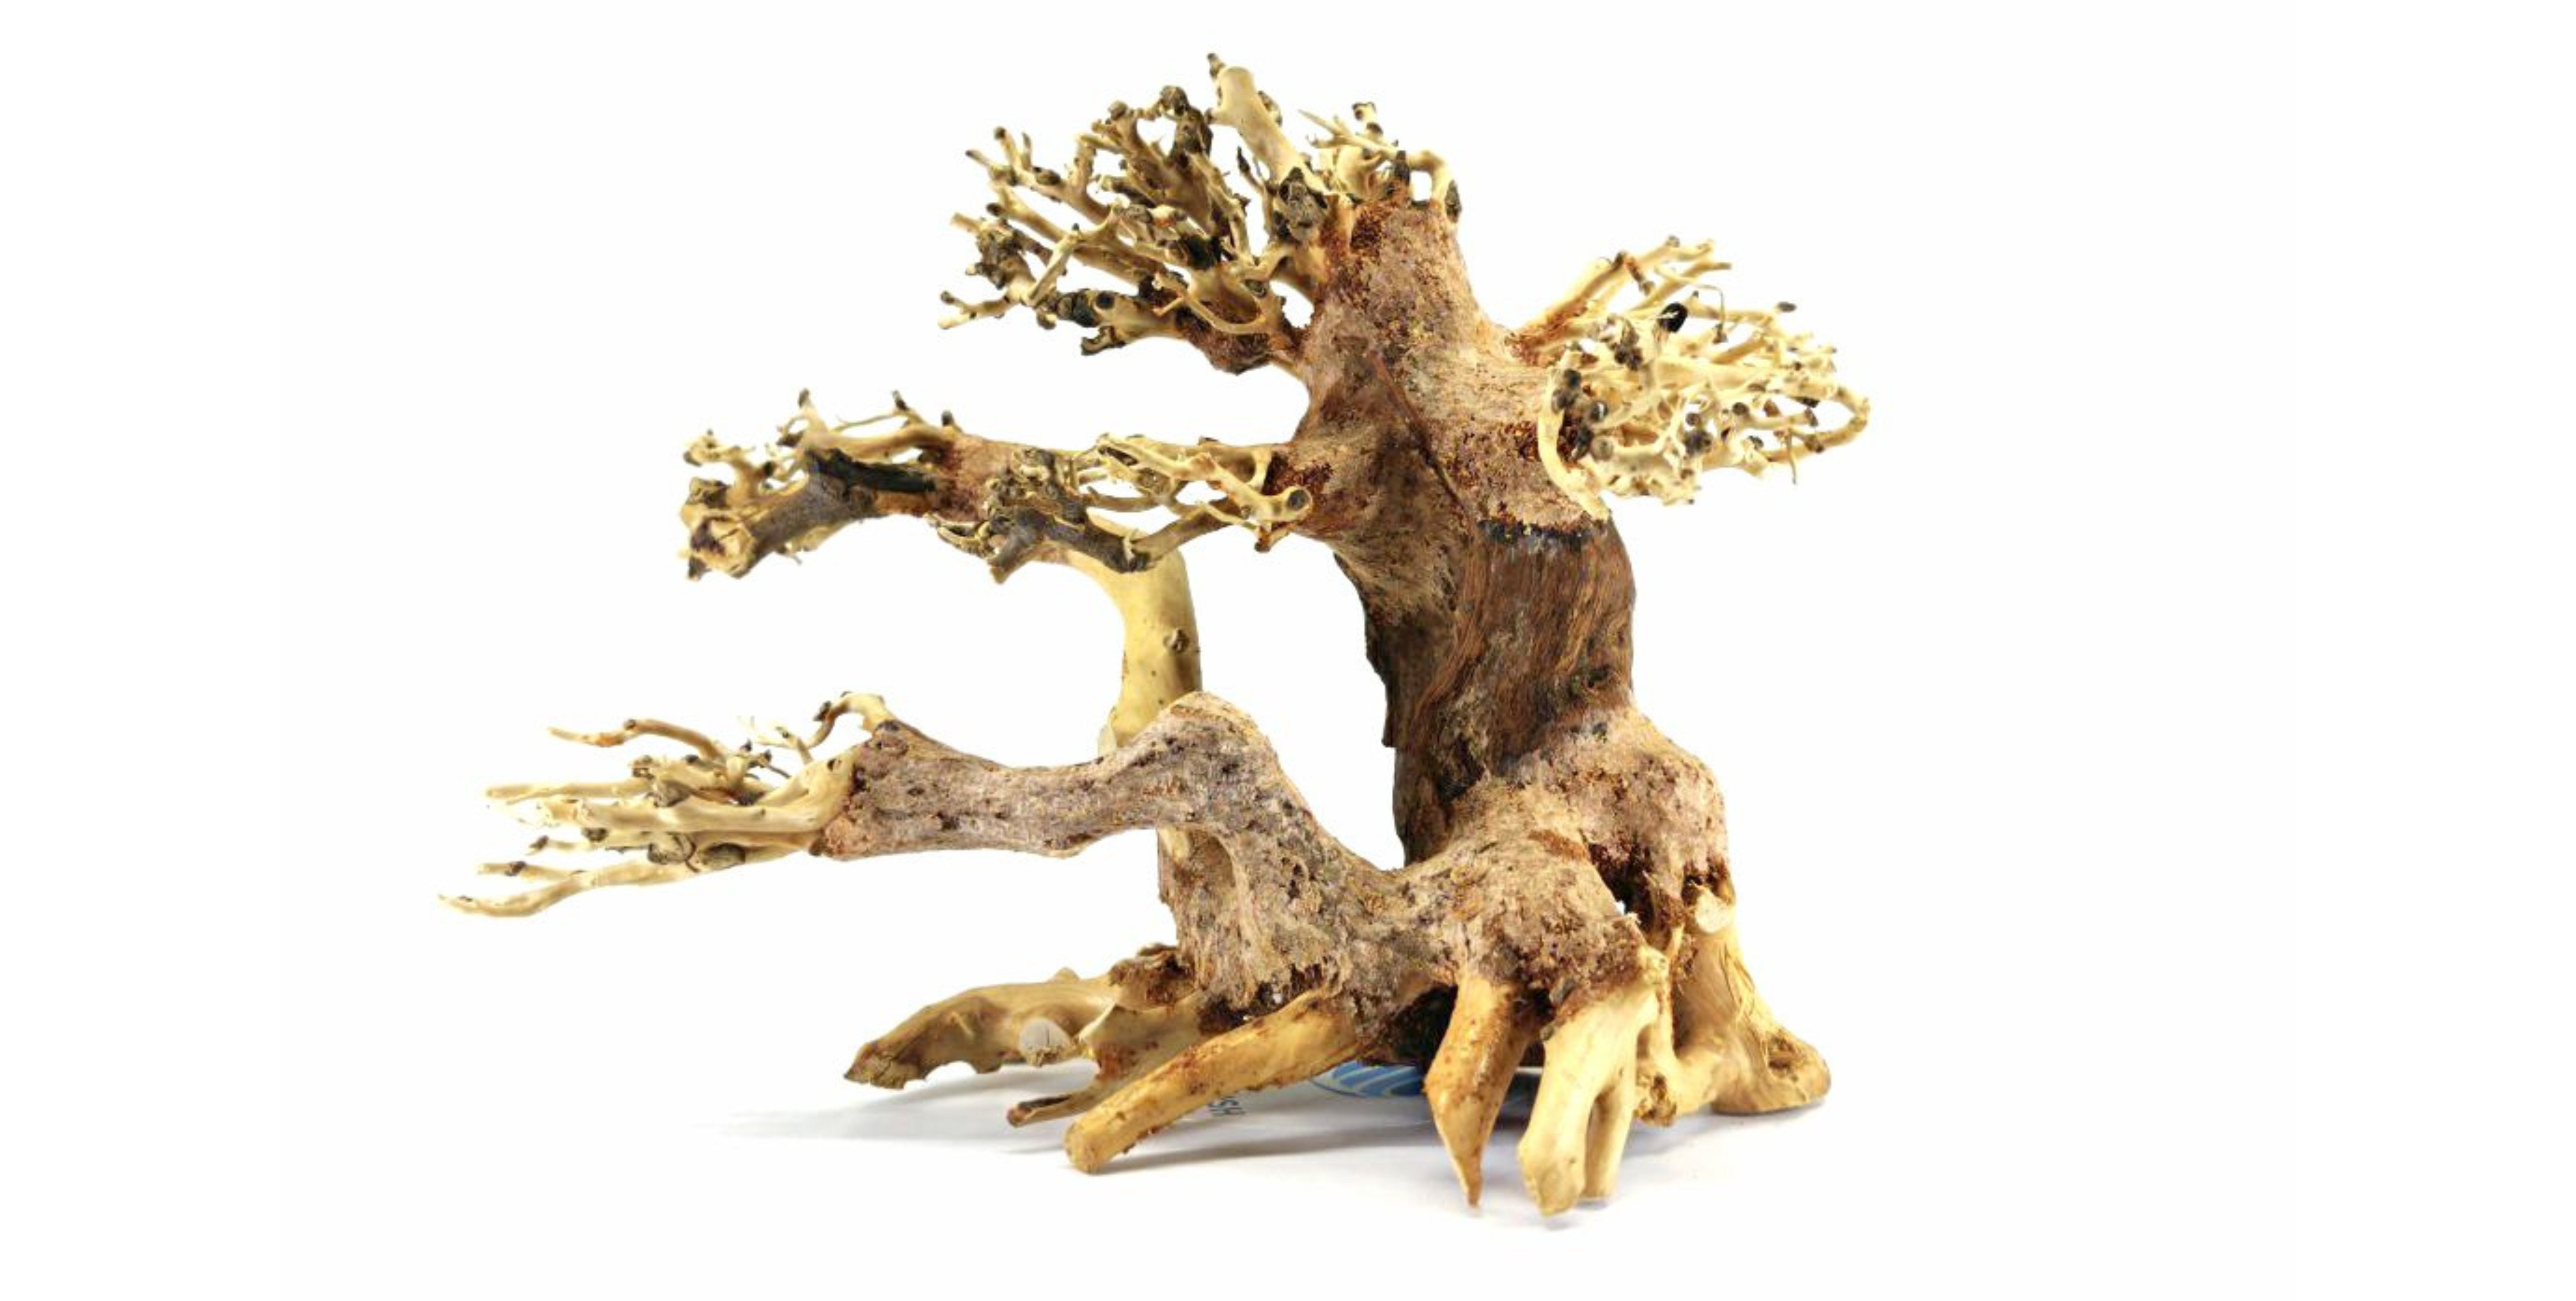
- Add some plants to the tank. Caridina shrimp love to hide and feed on plants. A good choice is moss, java fern, or anubias.
- Install a heater in the tank to maintain a stable temperature between 72°F and 78°F.
- Allow the tank to cycle for at least 2-3 weeks before adding shrimp. This will allow beneficial bacteria to grow and establish a stable nitrogen cycle.
Preparing the Water
Before adding shrimp to the tank, preparing the water properly is essential. Here are the steps to follow:
- Test the water for pH, GH (general hardness), and KH (carbonate hardness) using a test kit.
- Adjust the pH to between 6.0 and 7.0 using a pH buffer.
- Adjust the GH to between 4 and 6 using a GH booster.
- Adjust the KH to between 0 and 2 using a KH buffer.
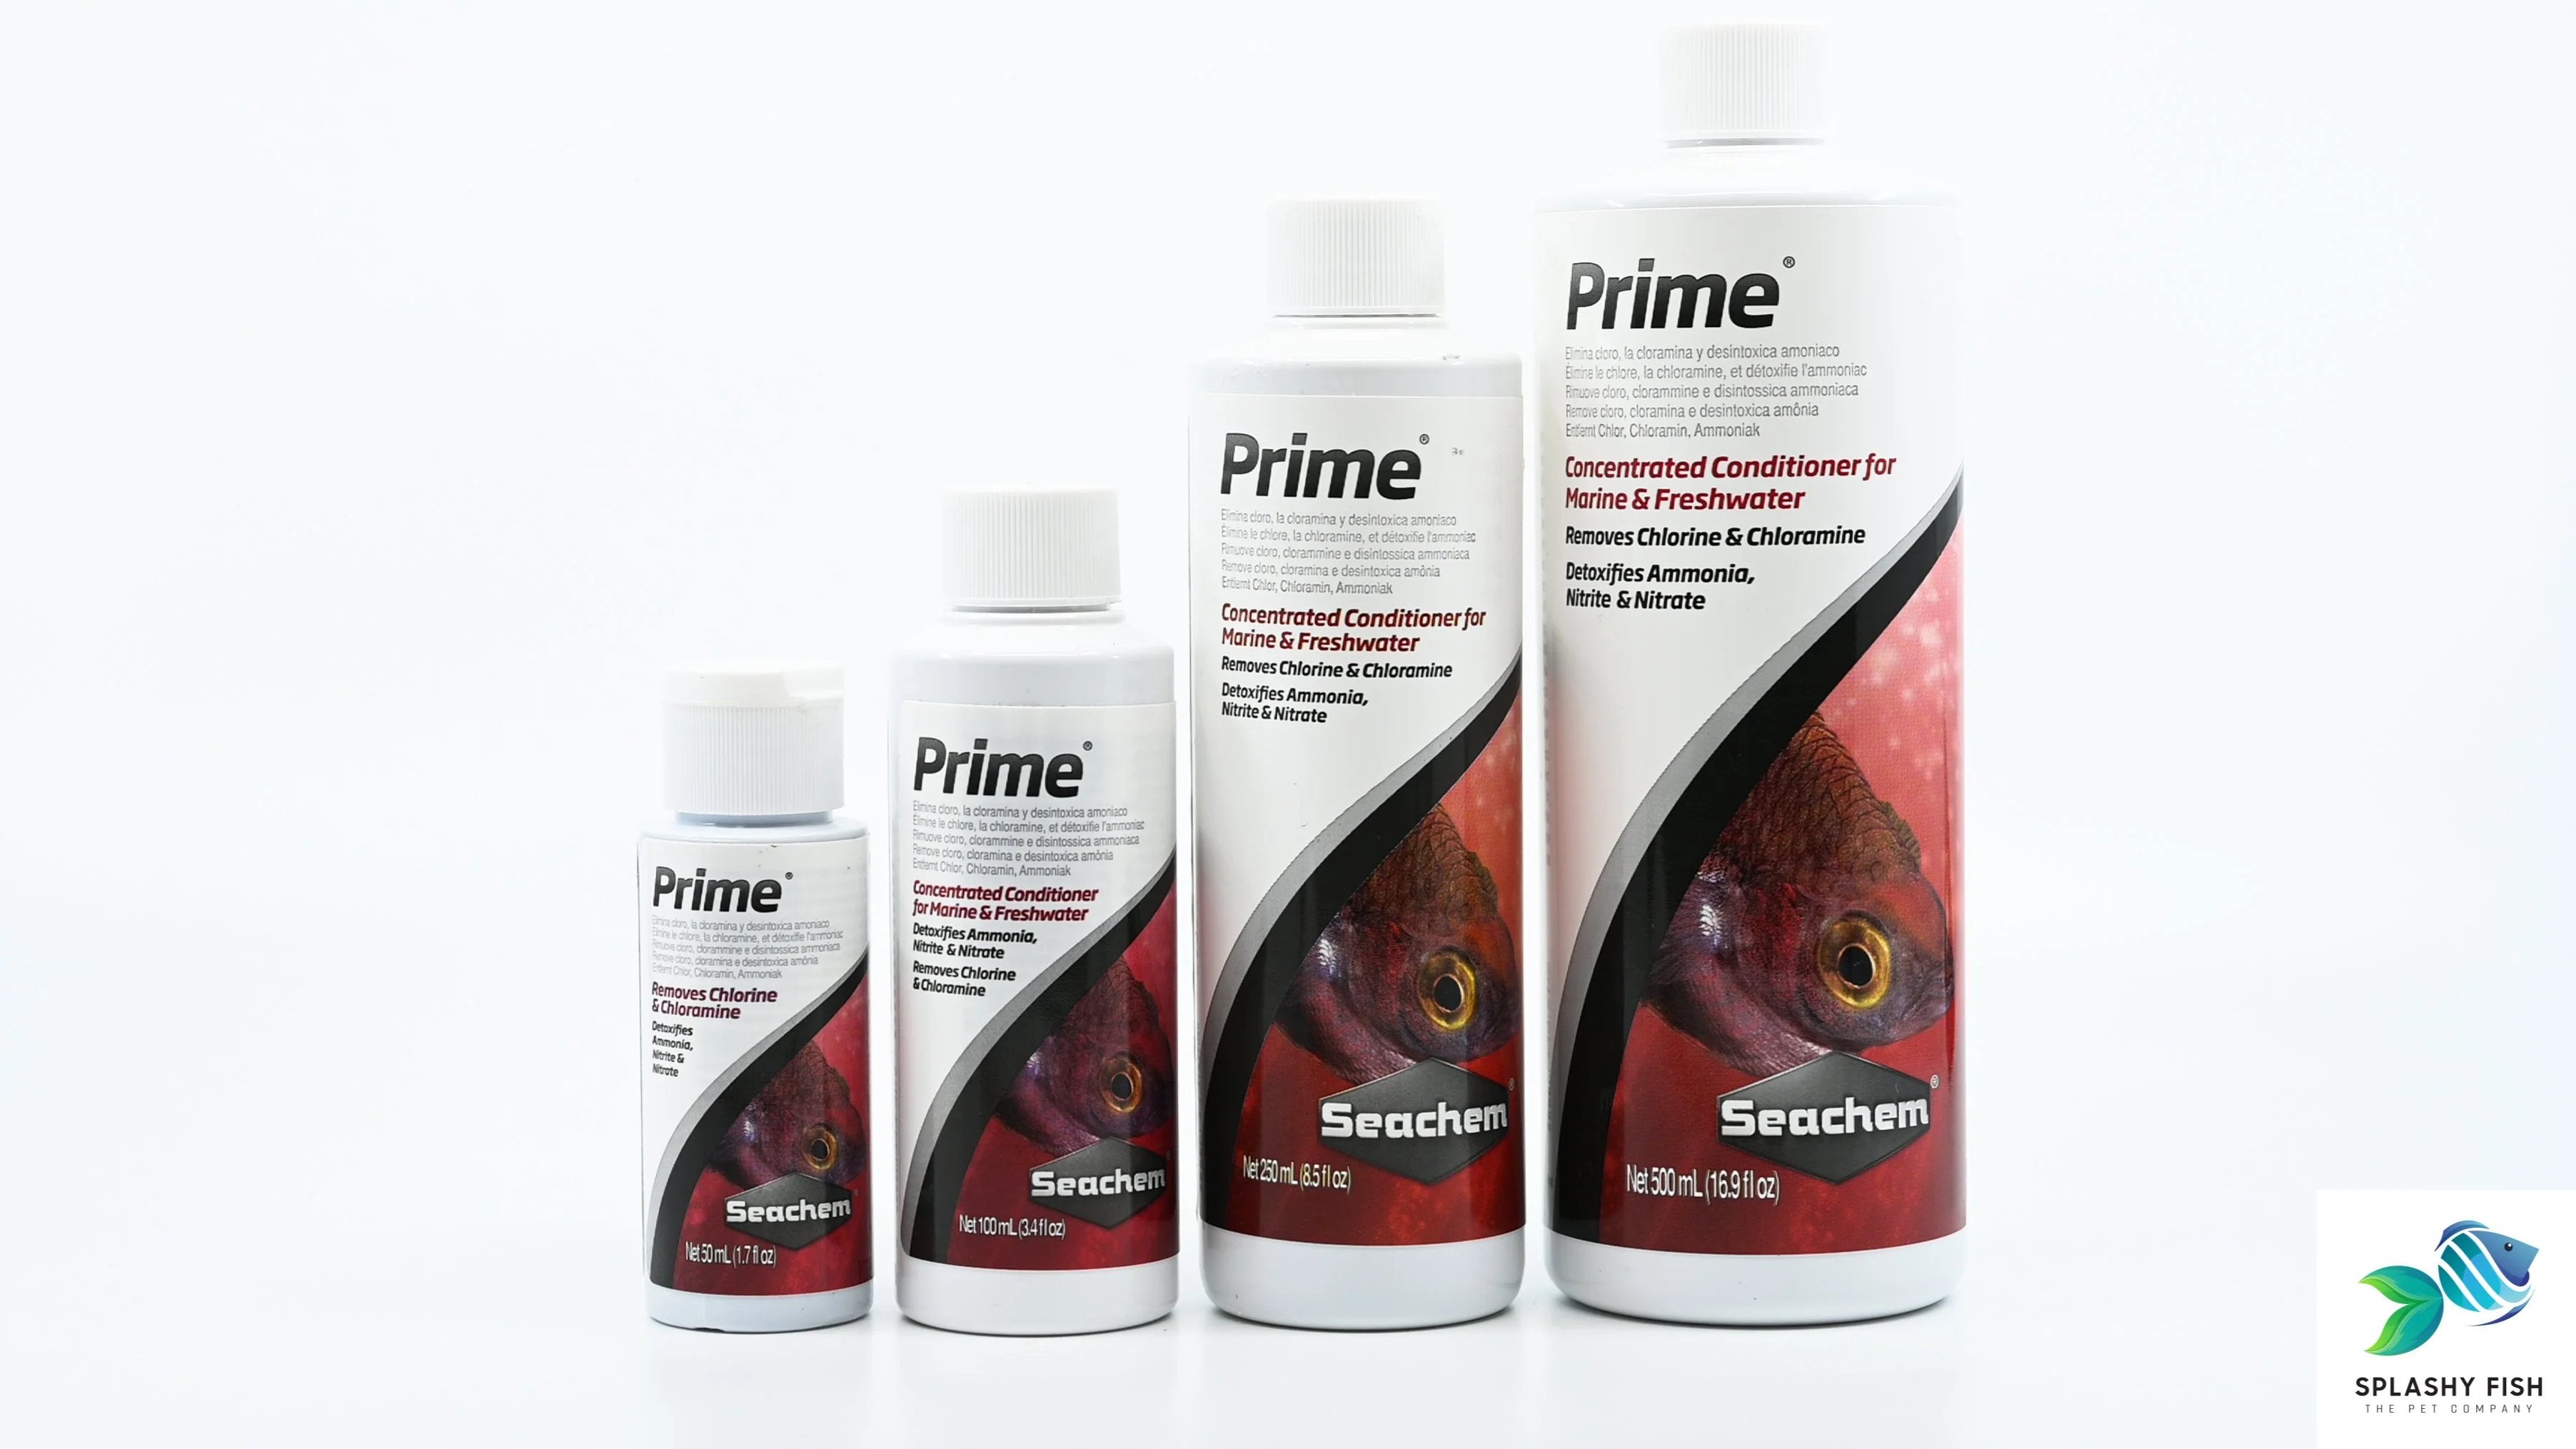
- Add a dechlorinator to remove chlorine or chloramine from the water.
Adding the Shrimp
Once the tank is fully cycled and the water is prepared, it's time to add the shrimp. Here are the steps to follow:
- Acclimate the shrimp to the tank water by gradually adding small amounts of tank water to their transport bag or container over a period of 30 minutes.
- Use a net to transfer the shrimp into the tank gently.
- Turn off the lights in the tank for the first few hours to allow the shrimp to acclimate to their new environment.
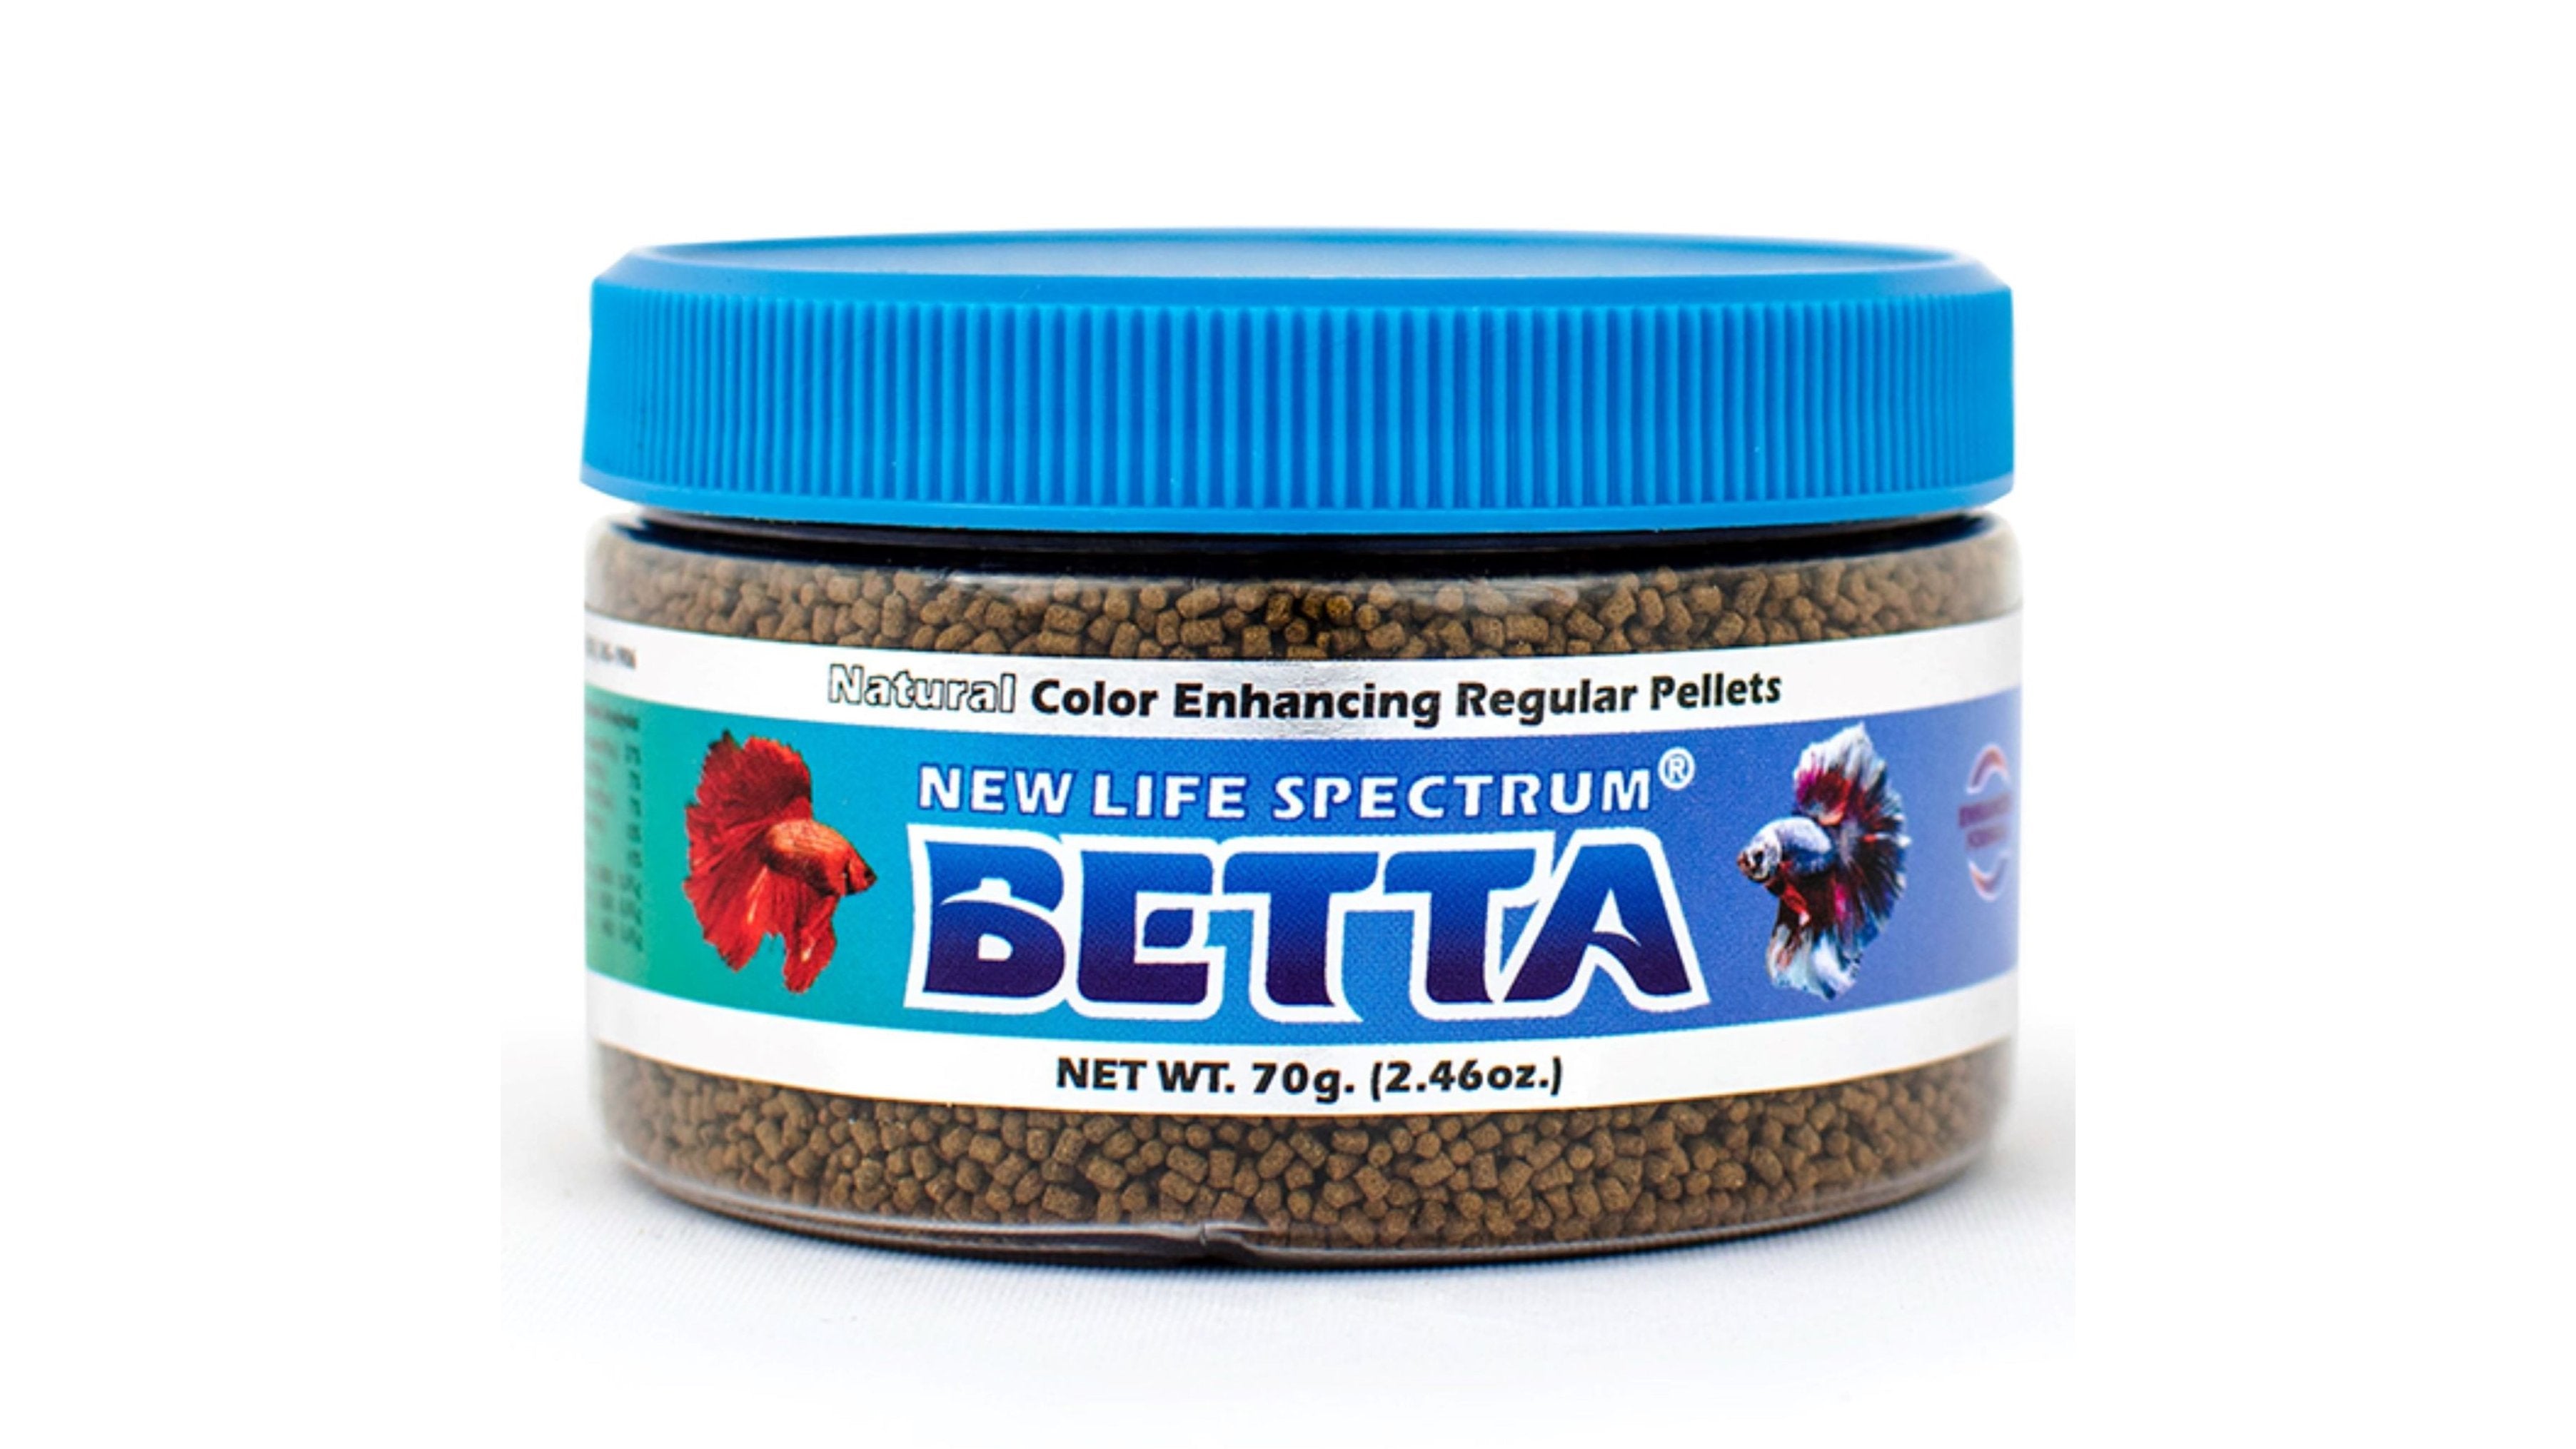
- Do not feed the shrimp for the first 24 hours to allow them to settle in and explore their new home.
Conclusion
Setting up the perfect Caridina shrimp tank requires careful planning, attention to detail, and patience. By following the steps outlined in this guide, you can create a beautiful and healthy environment for your shrimp. Remember to maintain water quality, provide adequate hiding places and food, and monitor the shrimp regularly to ensure they thrive in their new home.
Purchase high-quality Caridina shrimp for your tank at Splashy Fish. We offer the most sustainable live freshwater fish, freshwater shrimp, aquatic plants, and everything else you might need. Check out our store for more information!