Table of Contents
Everyone needs time to get accustomed to a new environment, so does your newly purchased fish. Imagine you take a long trip to a foreign country, you will get a little bit of sickness after all. Same as your fish with the journey from a pet store aquarium to a temporary plastic bag and finally your tank. However, they may suffer more than sickness. Fish are very sensitive to even minor changes. Sudden changes in continuity, like the transport we described, may get them shocked and even perished.
In order to prevent it happening, we introduce you to the acclimation process below. By conducting it, your fish will have enough time to slowly and properly adapt to the new environment, your aquarium.
** IMPORTANT: Before you carry out the acclimation process, please ensure there are no lights on or around the tank where the fish will live (we want to emulate the shipping environment which the fish just survived by not exposing them to any bright lights to reduce the appearance of stress or trauma to the fish). Light shock can (whether it is from natural or artificial light) be unfavorable. Please note: Our fish coming out of the box will look very sluggish. Sometimes the fish even appear not to breathe... This is due to the tranquilizer and lower temperatures slowing the fish’s metabolism. Please make sure to acclimate the fish with our guide and your splashy pet will be splashy in a very short time.
Recommended equipment:
- Airline tube; and
- A 16oz cup or a bucket of up to 5 gallons.
A step-to-step acclimation process:
- Turn off aquarium lights (or place your aquarium lights to the moonlight setting). Also, make sure the room light where you unbox your fish is also dimmed.
- Float the sealed bag in the aquarium for at least fifteen 15 minutes to 30 minutes - keep the bag sealed and do not open it yet.
- This step allows the water from the shipping bag to gradually match the temperature in the aquarium, while maintaining a high level of dissolved oxygen. This is also call Temperature acclimation.
- Carefully empty the contents of the sealed bag(s) [including the water] into the bucket(s) or a cup. Depending on the amount of water in each bag, this may require tilting the bucket at a 45-degree angle to ensure the fish are fully submerged. You may need a prop or wedge to help hold the bucket in this position until there is enough liquid in the bucket to put it back to a level position.
- Use airline tubing, set up and run a siphon drip line from the main aquarium to the bucket (you will need separate airline tubing if you are using more than one bucket in this process).
- To control the water flow speed, you can tie the knots on the airline tubing (the tighter it is the less water will flow to), or use a plastic or other non-metal airline control valve (using a valve is the preferred suggestion in this process if you have it), to regulate the flow from the aquarium. Additionally, we recommend securing the airline tubing in place with an airline holder or a algae magnet.
- Begin a siphon by sucking on the end of the airline tubing you will be placing into the bucket. When water begins flowing through the tubing, adjust the drip (by tightening one of the knots or adjusting the control valve) to a rate of about 2-4 drops per second.
For Betta fish, when the water volume in the bucket/bags/cups doubles, you can release the fish to the tank.
For other freshwater fish, when the water volume in the bucket/bags/cups Triple, you can release the fish to the tank.
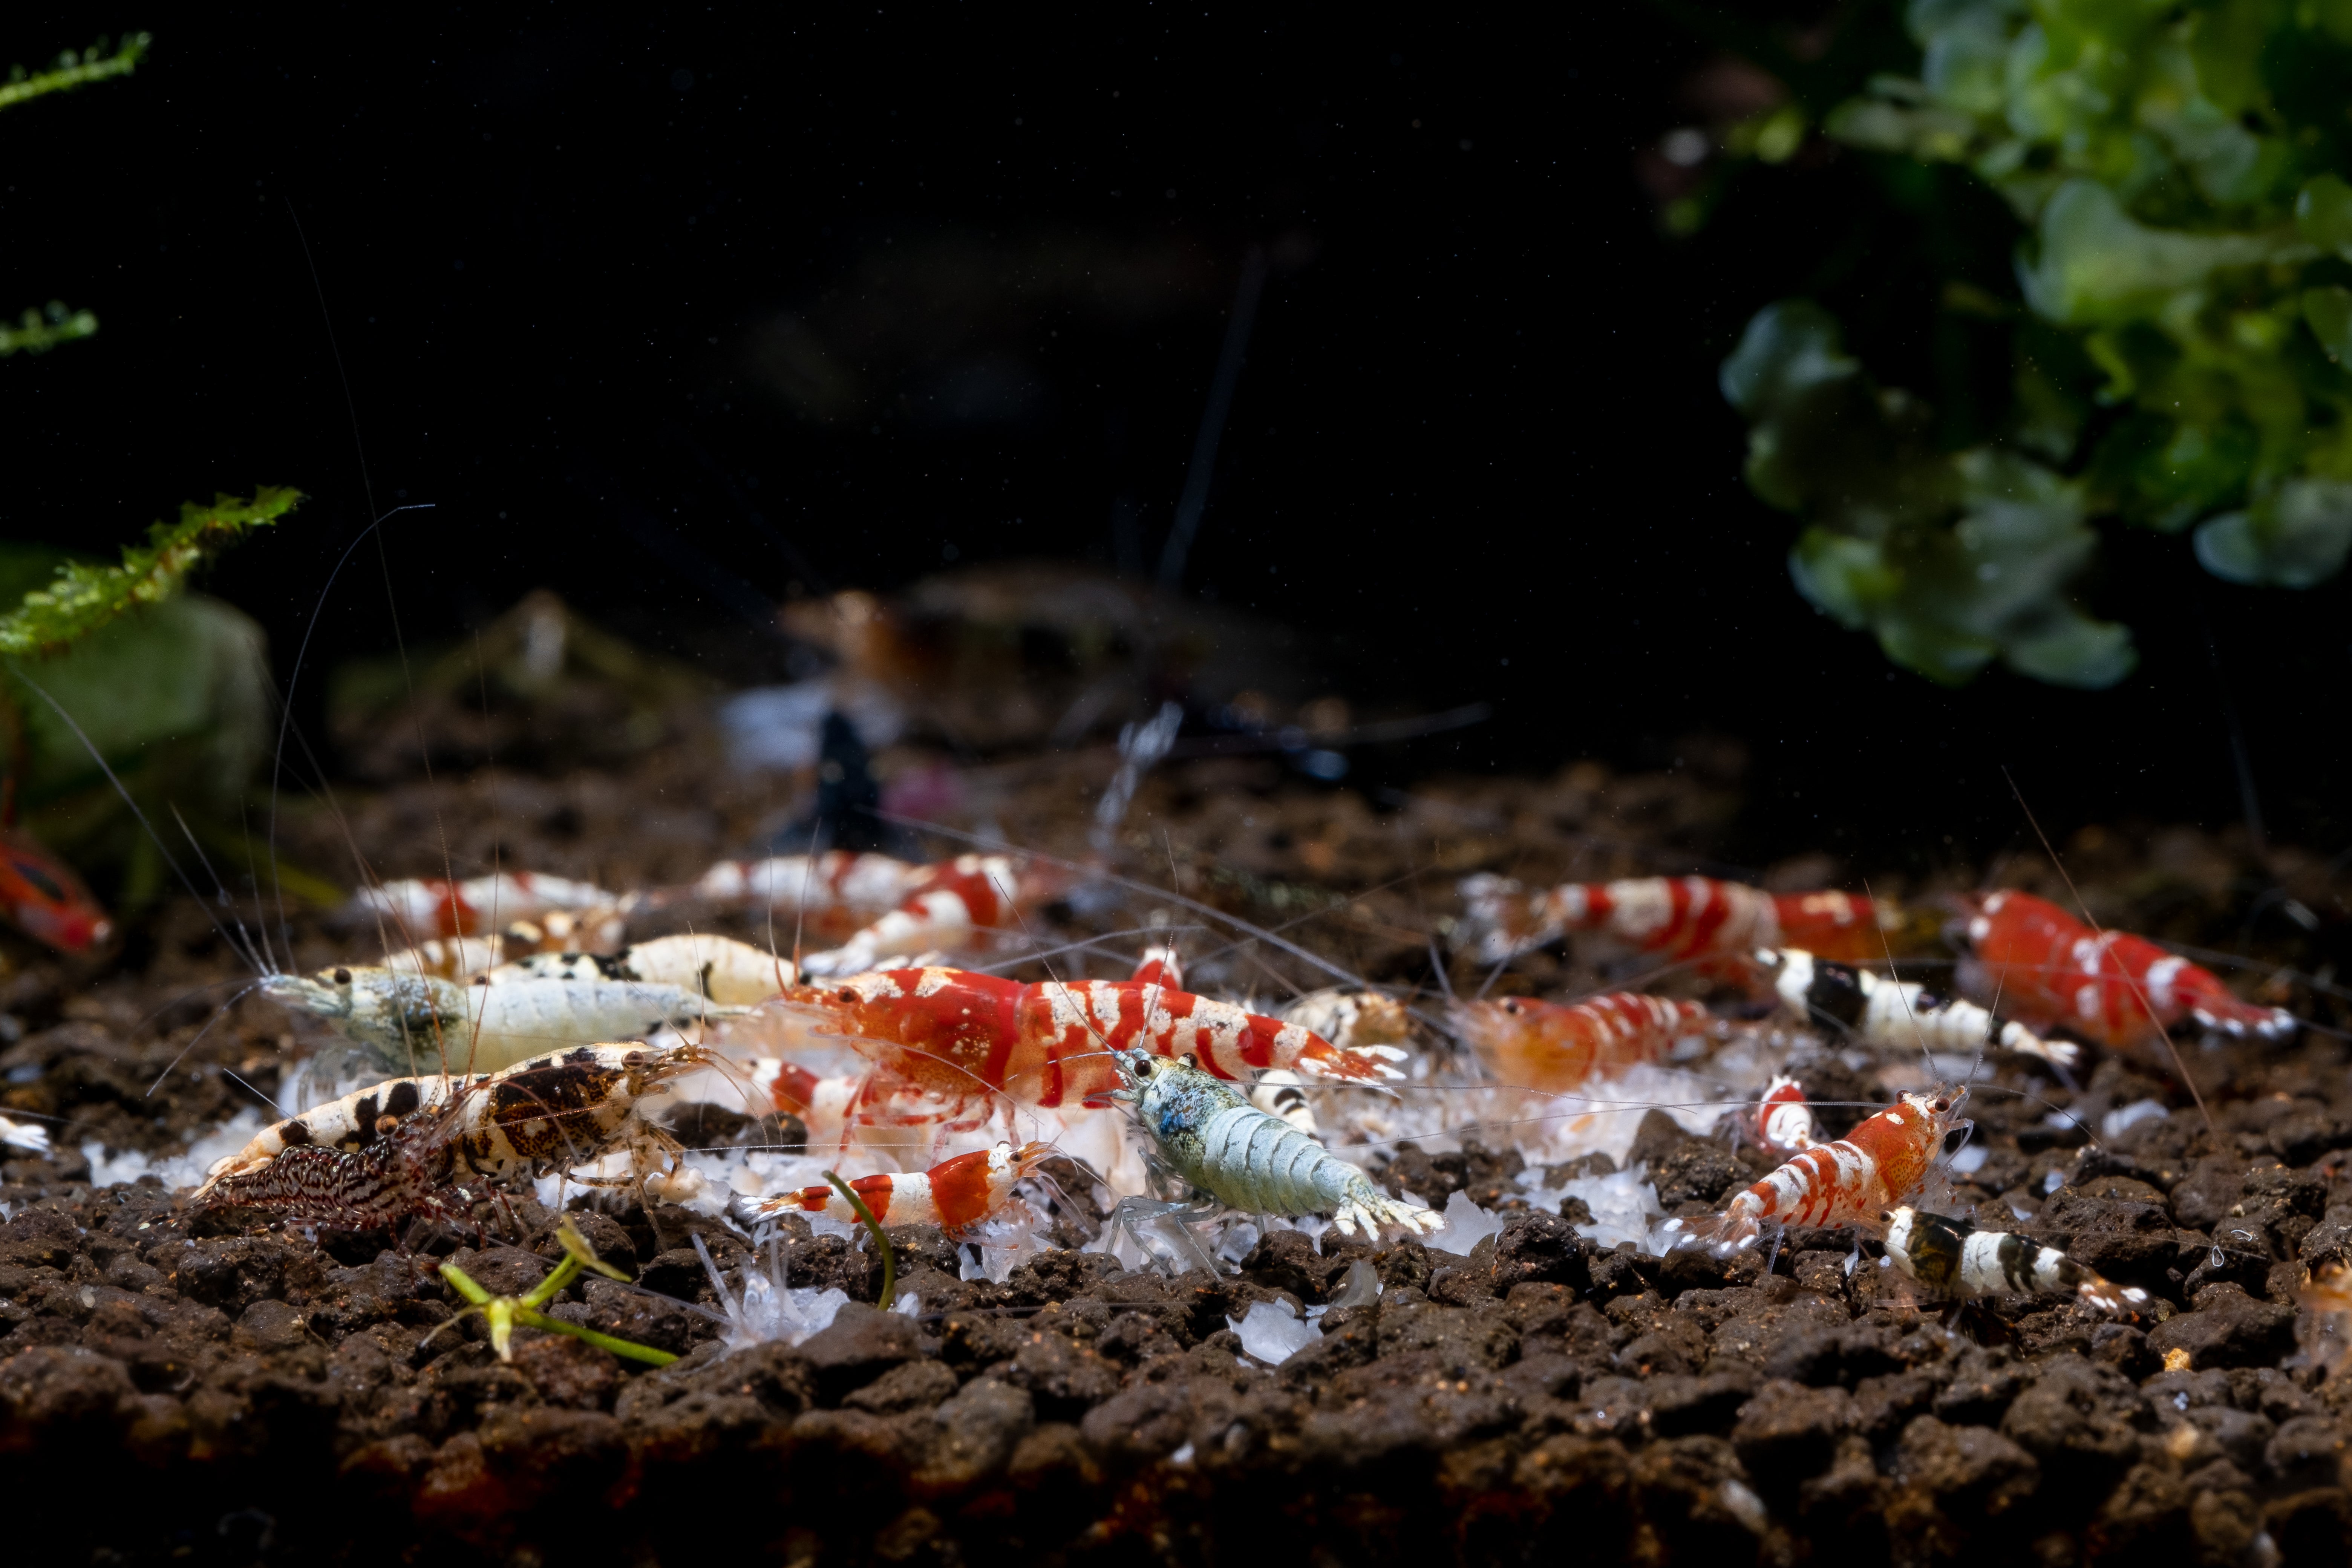
For Freshwater shrimp, when the water volume in the bucket/bags/cups 5 times the original water, you can release shrimps to the tank.
Voila! You officially finished the acclimation and your new fin friends can be transferred into their new home. Gently scoop your Splashy Pet out of the drip bucket with the fish net into their new home.
It is not a complicated process at all. However, it requires your patience and meticulousness. Just put a little bit more effort and you will find hard work pays off. Your splashy fish will happily splash around inside your aquarium upon the successful acclimation.


